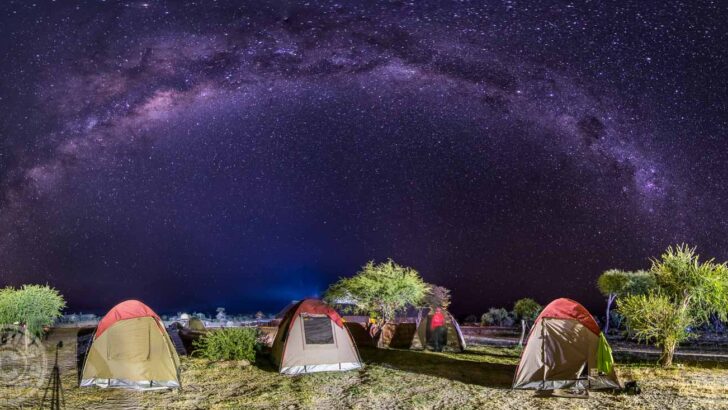
The stars under the African sky are absolutely amazing, you just can’t see the night sky like this at home. In many places, you will find yourself surrounded with almost no light pollution, and billions of stars. Getting away from the lights is the first step to taking great night sky photos in Africa, but don’t think you can just point your camera skyward and expect it to look like it does to your eye. Great photos are a bit tricky, but here is my guide to how to take star photos in Africa, or anywhere really.
Equipment
You only need a few things to give this technique a try.
#1: DSLR camera, or a camera that will allow you to set the duration of your shutter.
#2: Tripod – Since you will be taking a long exposure photo your camera will have to be perfectly still. I have the Me Foto backpacker model, which travels well.
#3: Lens hood – Usually used in the daytime these can come in hand from keeping lights at ground level from affecting your night shots too.
Timing is everything
The single biggest factor in taking good star photos is limiting the amount of light pollution. Being in Africa gets you most of the way there, but the more remote the area, the more the stars will show. Even more important than your location is the phase of the moon. The moon is the biggest light pollution source in the world. Even if there isn’t a light on the ground for miles, you probably still won’t see the stars very well if the moon is full. This is because the moon will illuminate the particles in the atmosphere and hide most stars from your eyes and camera. Your best results will be on the days just before and after a new moon.
The Setup
Even with the best camera and equipment you can still get it wrong if you don’t set them up correctly.
Step #1: Mount your camera on a tripod
Securely mount your camera on a tripod, make sure it’s a heavy tripod if it’s windy. Also, it’s best to find an area where people won’t be walking through to disturb your picture, or worse knock your camera over since it will be very dark and they may not see you or the camera.
Step #2: Install lens hood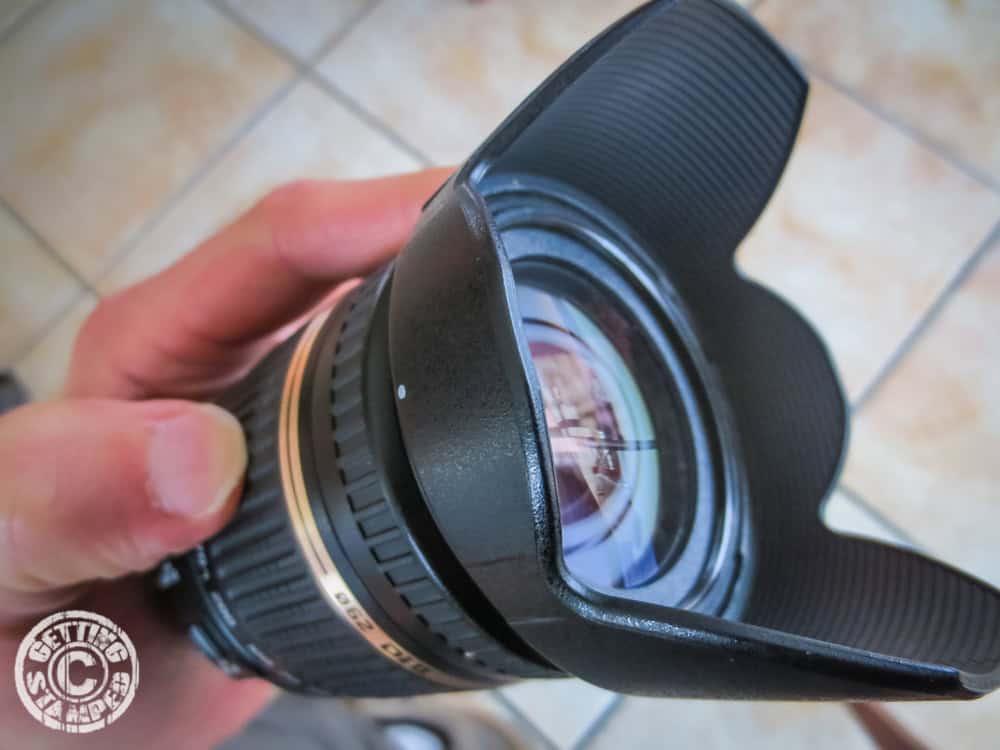
Normally a lens hood is used to keep the sun’s light out of your pictures, but in this case, any ground lights can do the same thing as the sun when taking long exposures at night. Installing the lens hood helps minimize the light you don’t want in your photo.
Step #3: Turn off VR (Vibration Reduction) 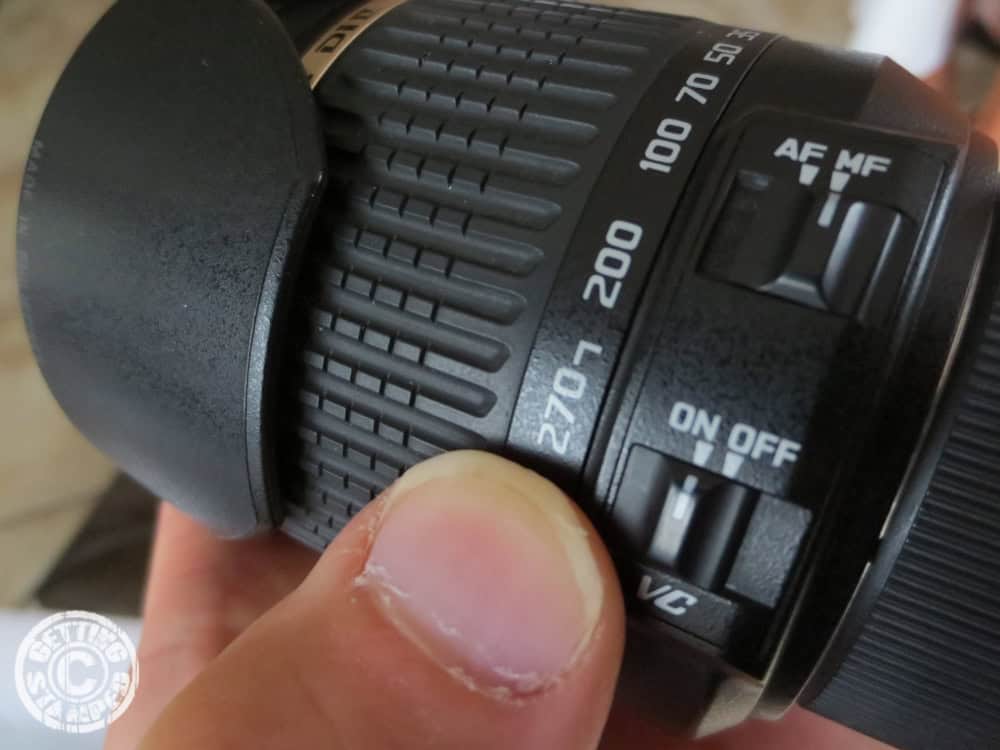
Depending on your lens it will likely have a switch to turn on and off the vibration reduction, some are called VR on Nikon lenses, VC on Tamron, or OS on Sigma and some canon lenses. The VR helps you to stabilize your shot when you are hand holding your camera, but since we are on a tripod this can actually hurt you. Switch the VR off, because if you don’t on most lenses the function will run for a few seconds while taking a long exposure and then turn off. The VR will cause a jump somewhere in the middle of your photo leaving you with a shot that looks jittery.
Step #4: Turn on exposure delay mode (DSLR Only)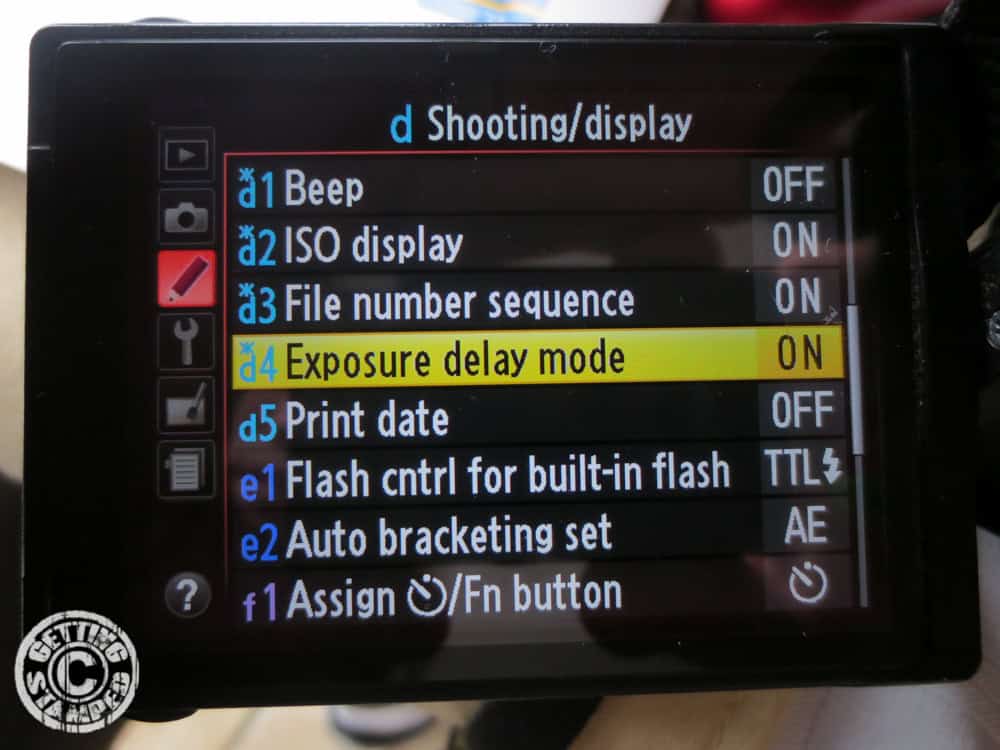
If you are shooting with a DSLR camera find this setting and turn it on. It can sometimes be hidden in an obscure menu and you may need your manual to find it. For Nikon users mine can be found by hitting the menu button, then under the pencil icon, second page, “D4” switch it on using the selector pad.
What this option does for you is ensures the mirror is up and has a chance to stabilize before opening the aperture to start the exposure. Normally when taking photos this happens all together and doesn’t matter for short shutter speeds. Be sure to switch this function off when you’re done shooting at night or it will add an unnecessary delay when shooting next time you go to use it.
Step #5: Put your camera to Shutter Priority or Full manual mode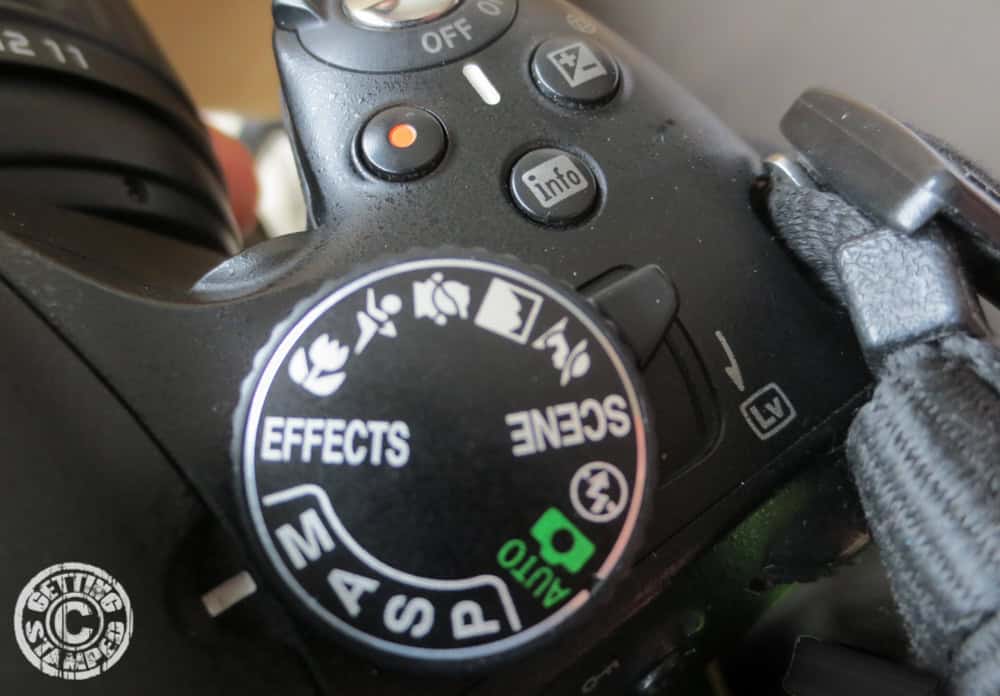
While taking star pictures in Africa I found that I had to set my shutter speed to the slowest setting in order to capture the stars the way a saw them. For my camera, that was 30 seconds. Even at that I had to make a few more adjustments to capture the stars, but this is the first place to start.
*There are ways to take longer exposures than 30 seconds but it requires additional equipment and will leave you with star trails. See advanced section.
Step #6: Focus to infinity
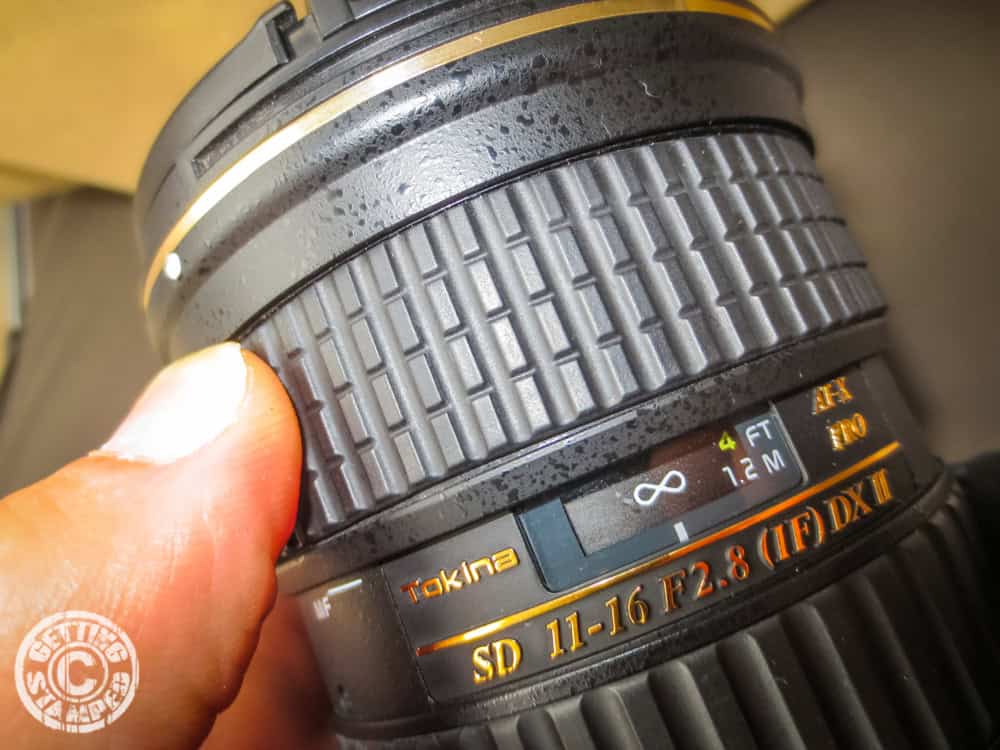
The stars are as close to infinity as anything you will ever photograph so turn offautofocuss, then dial the focusing ring to infinity or the largest setting. This will save you time between shots as your camera will not have to refocus ever shot, also many cameras may struggle to find focus in low light situations like this.
Step #7: Set your Aperture
In a perfect world, a good aperture for most photography is F8, but it’s not practical unless you have some more advanced equipment. I found my best results at my widest apertures for me that was f2.8 on my Tokina 11-16mm, and f3.5 on my Tamron 18-270mm. Setting the aperture wide open it ensure you will get the most light possible into your camera.
Step #8: Use ISO as your final adjustment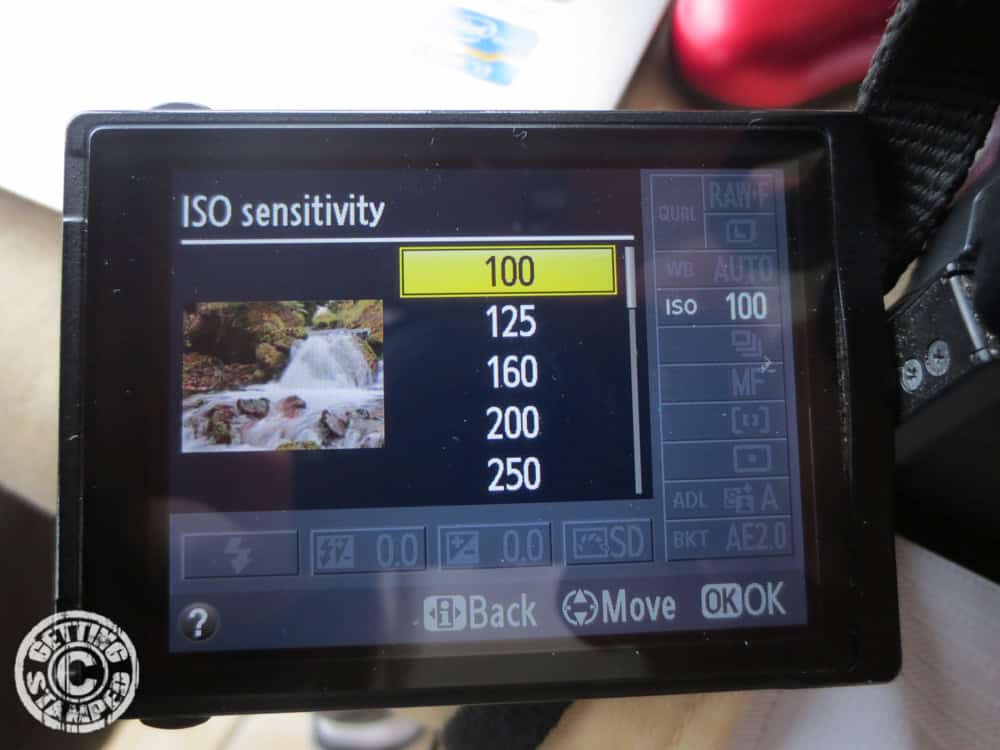
Take your camera off of Auto ISO, control this function manually because this will be your fine tuning of your night photos. Normally when you set your camera to Manual or Shutter Priority it will not be left to auto ISO, but if it is, take it off and take a series of shots while slowly increasing the ISO until you are happy with the result. Try and keep the ISO as low as possible because the higher the ISO the more noisy or grainy the photo will be.
Step #9: Shoot!
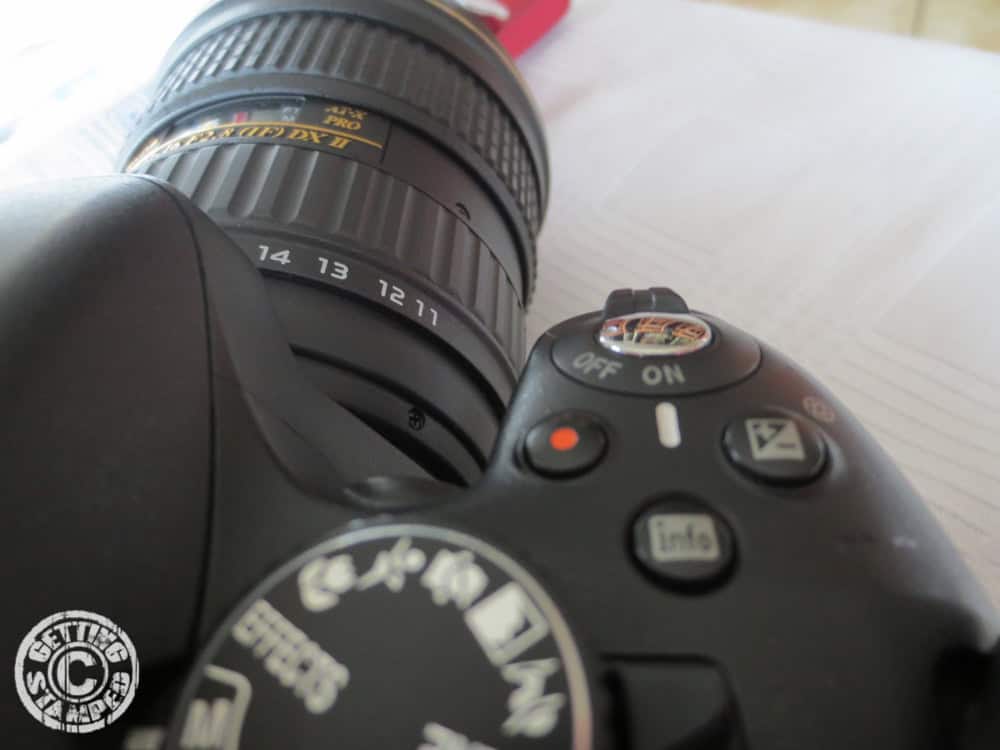
But don’t touch the camera! Any vibration on the camera or tripod will result in a jittery photo. There are a few options on how to shoot without touching your camera: option 1: use the self-timer button this will let you push the shutter button and then give the camera time to stabilize before starting the picture. The upside to the is there is no extra stuff to carry around, but you just have to wait a few extra seconds between shots. Option 2: use an external shutter release like a wire trigger or tethered cable release, if using a wires one make sure the cable is long enough that you’re aren’t shaking the camera while holding it.
Step #10: Review and correct
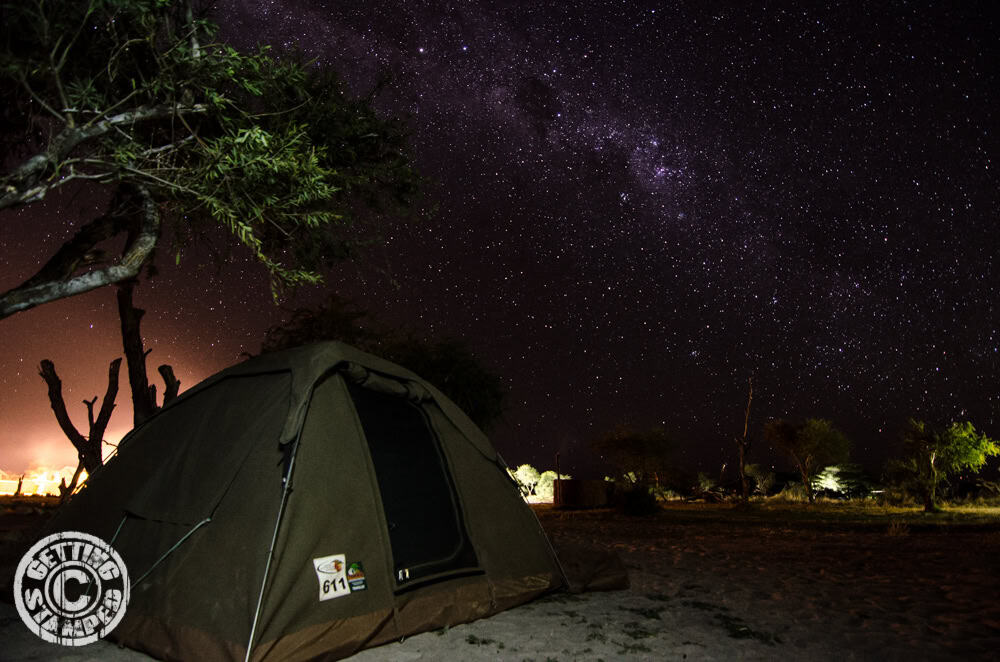
Underexposed at f2.8 and 30-second exposure ISO400
Take a look at your photo on the viewfinder and see how it turned out and make adjustments if needed. There is always trial and error in this type of photo because there is no exact formal because every night and location is different. Just like the steps above set the shutter to the maximum, then adjust your aperture (most likely too wide open, smallest f-number) finally start low with the ISO and keep increasing it until you are satisfied with the photo.
If you follow these few steps your camera should produce some good shots that look close to what you see with your eye. If you want to take it to the next level there a few other considerations to get you there.
Advanced Night Photography
Optional Equipment:
- A remote shutter release or bulb release
Tip #1: Add some foreground
Your photos will be much more interesting with some terrestrial elements that help tell the whole story. In the example I wanted to capture the nighttime scene from our camping trip across Africa, so I included elements like the tents and our safari truck.
Tip #2: Take even longer exposure
Most cameras default the maximum shutter duration at 30-seconds. While this good for a lot of shots sometimes you need more. The best way to have your camera take longer shots that that is to set it to “Bulb” mode which is normally one click past 30″. However in order to use this you need another piece of equipment, either a tethered remote shutter where you hold the remote button down for whatever length of time you want; or option 2 is a specialty bulb switch and have setting specify to this task and are a better option if you plan on doing lots of this type of photography. Where this is most important is when you are forced to use very high ISO settings to get the picture to turn out right. This works because ISO basically is a means of increasing the camera’s sensor sensitivity, but if is too high the photo will be very grainy. If you have to be above 800 ISO you would be best to use this technique.
Tip #3: Paint in the foreground
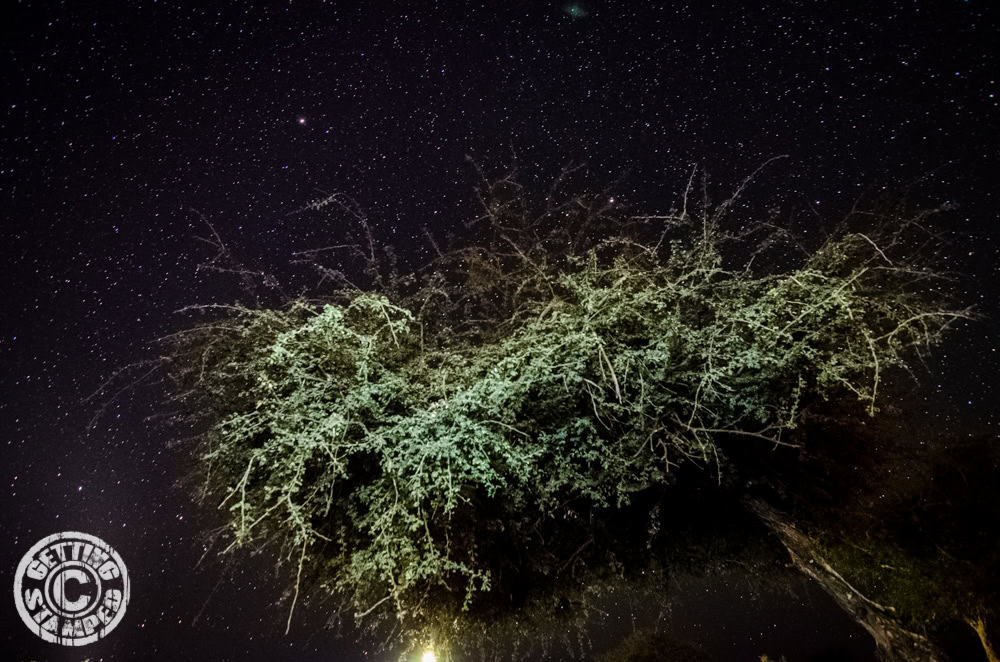
You may have heard of a technique called light painting, and this is a perfect time to give it a try. In order to get the foreground exposed properly while getting the stars right in the background, it’s best to basically put some light on you foreground elements. It works similar to the flash on your camera, but it’s done selectively by hand with a flashlight. While your long exposure is going on the tripod take a flashlight and quickly pass the light over anything you want in your foreground. Don’t spend too much time on any one thing or it will be overexposed, maybe a half second or so but it will take some trial and error but the higher the ISO the shorter time you will want to paint on you light and opposite for lower ISO. I like to use LED lights because traditional flashlights give off a very yellow light and will leave the foreground very yellow. LEDs are actually quite blue and can cause problems being too cool in color, but I find most ambient light to be yellow, and the blue light helps to balance it out. As a reference, I used the flash light app on my iPhone to paint all of these Africa photos.
Tip #4: Shoot in RAW
If you plan to use a computer to do any sort of post-processing make sure you are shooting in a RAW file format because it will save the picture in a format with much more detail and allow for better editing.
If you found this tutorial helpful let me know in the comments and I will write more how to’s. Also if you try this out post a link to your photo in the comments, or let me know if you had any trouble while trying.
Tip #5: Try Star Trails
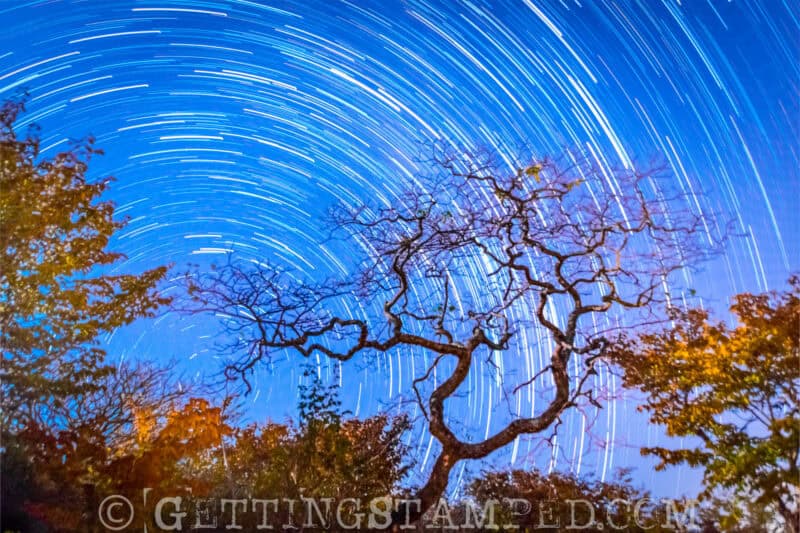
To make star trails you ‘ll need most of the same equipment, plus a little bit of patience, and one piece of free software. A shot like this takes about 45 minutes to an hour to shoot. It’s not just one single shot, but a combination of about 60-100 shots taken back to back and merged with software. A guide to taking star trails coming soon.
